For a few years now we’ve been dabbling with the ‘Euro-nymphing’ flyfishing technique. About this time last year we got some formal instruction from Mary Ann Dozer. Then this week we finally broke down and purchased a dedicated euro-nymph rod.
I found an Orvis ten foot three weight that cost less than two hundred dollars. It arrived this week, so we took it out for a test cast on the Crooked River.
Euro, or tight line nymphing uses a two fly rig with weighted wet flies or split shot. As the name implies this is fished with the line kept taut through the arch of the drift.
The day was warm, for mid-February, and sunny. We hooked up to several fish and caught a couple of decent ones. There is an old adage which says, “a bad day fishing is better than a good day at work.”
While scoping out the newest issue of King Arthur Flour catalogue, we read a description for a poundcake recipe we couldn’t resist. The words, “tastes like a Creamsicle” pretty much guaranteed we would be trying this recipe.
The topping is extraordinary. Its a combination of citric acid (found in the bulk foods aisle) and superfine sugar and it tastes both sweet and tart.
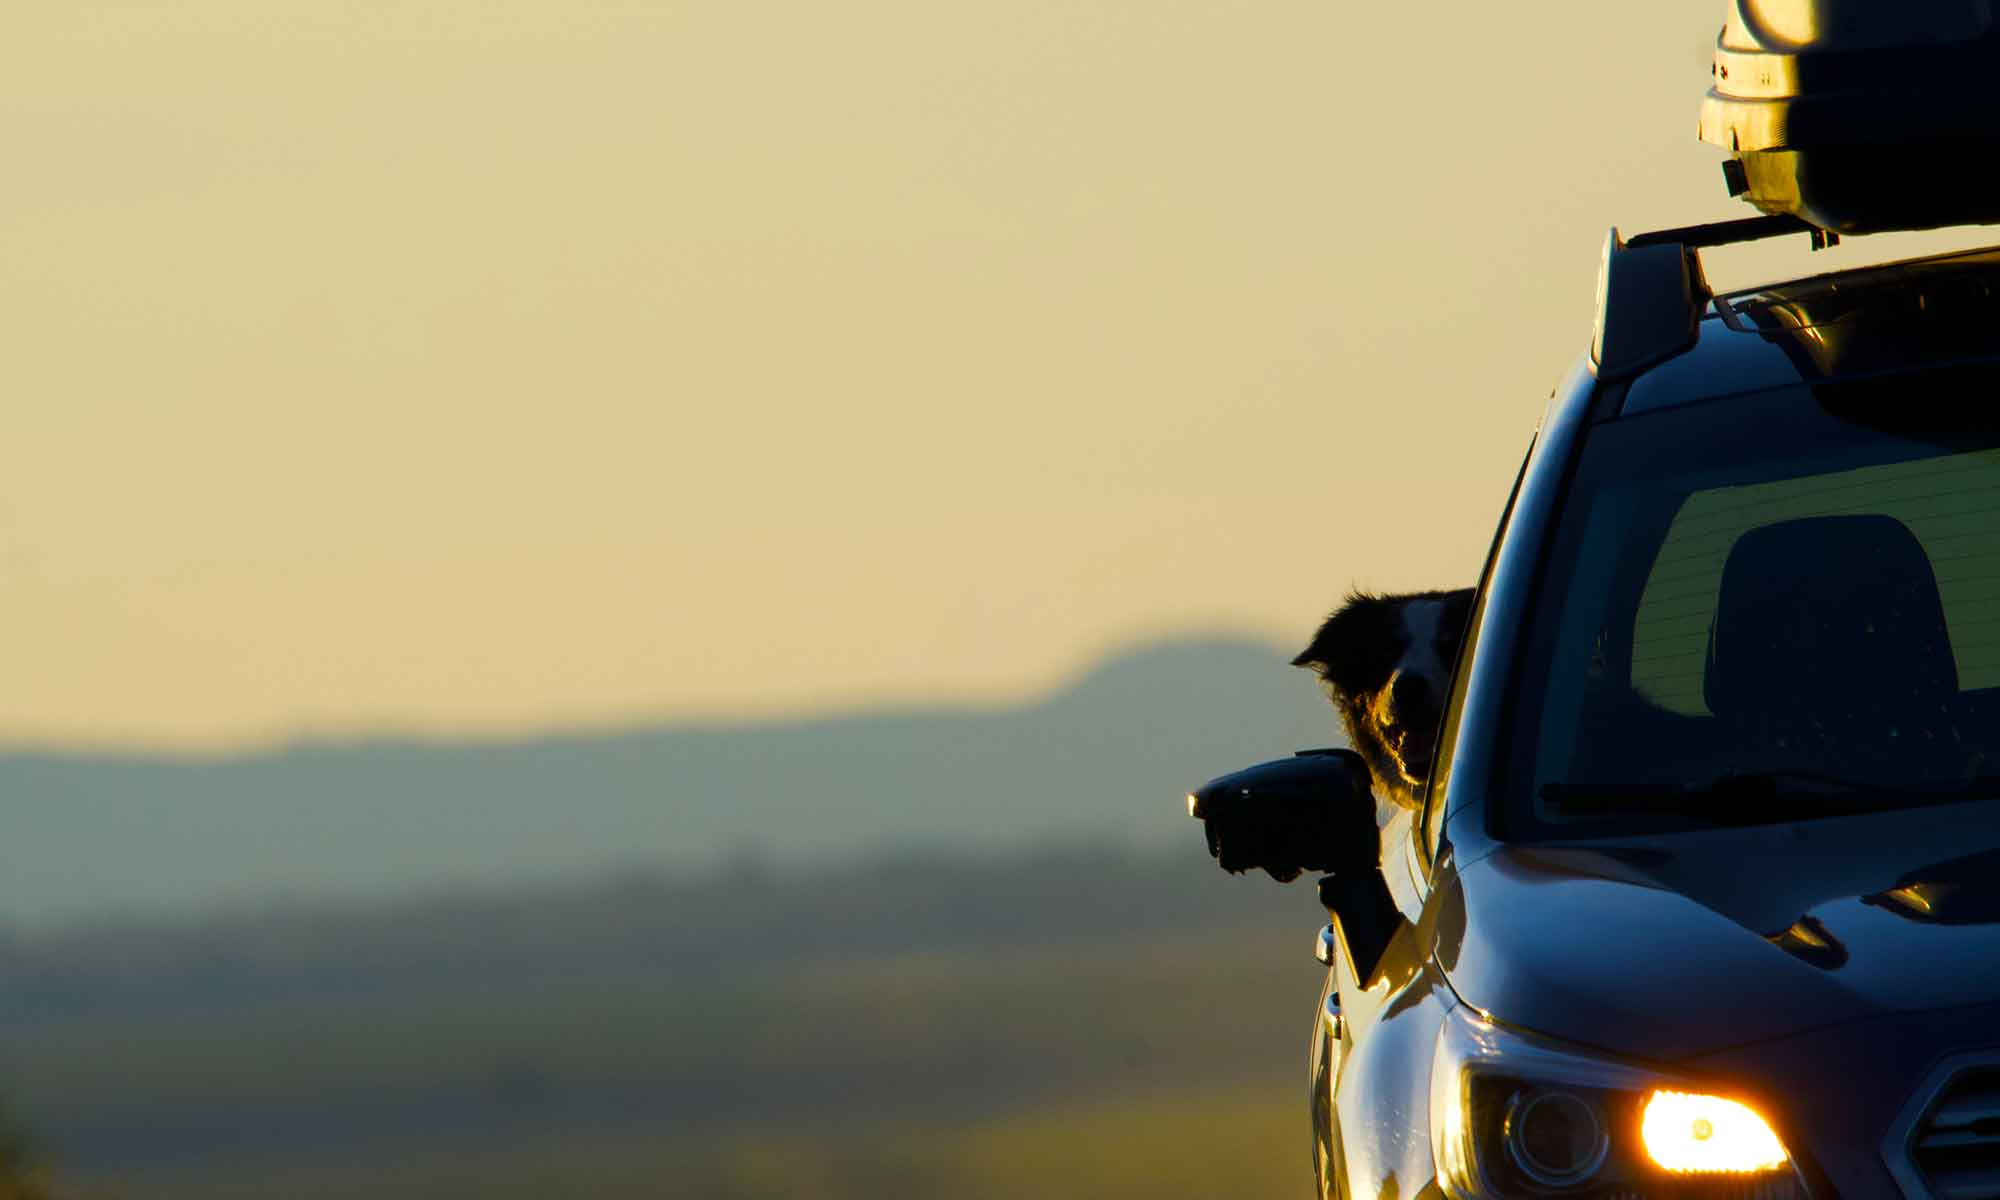
There is a regional flyfishing show in Seattle every year that we’ve been interested in checking out.
Last year we had a huge snowfall around the time of the show. But this year we’ve enjoyed a few weeks of mild weather and clear roads, making a trip north and west a possibility.
Any time we’re on Pacific Northwest roads during winter, we travel with basic emergency supplies. Cold weather coats, hats, gloves and boots and a cooler full of rations.
Columbia River, Washington Hwy 14Snowqualmie Pass
Our route plan was to use US 97 north to Washington state, hit interstate 90 and use Snoqualmie Pass to get over the Cascades
There are still a few feet of snow in the passes but the lower level roads appeared clear.
We kept watch for changing weather conditions, even tracked avalanche warnings, knowing Snoqualmie Pass is at risk. When stopping for coffees and to stretch our legs, we spoke to a couple of area locals about road conditions. Apparently there was a road closure at MP 67, but they figured it would be open by the time we arrived (which it was).
South Central Washington has fruit orchards and over 240 wineries.
We’d never been through these parts of the state so it was nice to explore some new country. Apple and wine country to be exact, plus it’s really a beautiful drive.
Seattle, Washington
Getting to Seattle and the show was not a problem, took our time and made it through the crazy Seattle maze of freeways.
The show was … well, glad we went, but we’re not going again … okay.
Didn’t explore Seattle, instead we headed out the next day to knock around Central Washington.
Our plans got shuffled when there was an avalanche delay on Snoqualmie and we had to shift routes south, then east to White Pass and into Yakima.
US Hwy 12 headed east to White Pass
Start of a snow storm
We encountered a bit more snow on this southern route and any view was hindered by a snowstorm. We did however get a sense for the potential of White Pass and the Mt. Rainer area and plan on a revisit.
Spent a night in the heart of Central Washington wine country and the charming little town of Zillah. It’s just east of Yakima and on the northern edge of the Yakima Nation’s reservation. This area is on the eastern edge of the Cascades and the start of some really beautiful canyon land we are itching to check out.
This year we’ve been doing a lot of meal prep … that is, building multiple meals at one time and packaging them for later.
Usually these meals are lunches, the meal we are most likely to eat on the go.
There’s scads of online info and recipes about meal prep so we’re not going to recreate that here. However, we would like to share a favorite make ahead lunch … Quick Chicken Burritos.
The best meal preps require only simple food techniques and ingredients. These burritos are super easy to prepare and make a satisfying and delicious meal. The recipe is very flexible, allowing you to add or substitute ingredients.
One final note, you are making multiple meals which will need to be packed and most likely frozen. Amazon is full of systems and it is actually interesting to check out what they offer.
For these burritos we use squares of aluminum foil. It is a simple deli style wrap and the burritos are ready for oven reheat which is the best way to serve. If you’re in a real hurry they do microwave.
Heat oil in a large nonstick skillet over medium heat. Add onion and garlic; cook, stirring often, until the onion starts to soften, about 2 minutes. Add beans, water and dry seasonings; bring to a simmer, mashing beans slightly with the back of a spatula. Stir in chicken and kale; cook until thickened, 1 to 2 minutes.
Scrape contents of skillet into a large mixing bowl. Add cheddar, cilantro, zest, juice and salt. Mix until well blended. Measure 1/2 cup filling onto a tortilla and roll, folding over the ends burrito style. allow to cool. Should make 8 burritos.
Tear off four 6 inch strips of aluminum foil and then tear these in half. Lay a burrito diagonally on a foil square, fold up the lower third over the burrito and roll once, then fold over the far corner. Roll once more and fold over the near corner, and then complete the wrap. Place in freezer for up to a month.
Reheat burritos by placing in a cold oven set to 350º. When the oven comes to temp wait about 5 minutes and burritos should be nicely warmed up. Alternatively you can un-wrap and place in microwave for 3 minutes on high
I’m not sure where I first picked up the idea of freezing soap bubbles.
That said … I do remember once seeing videos of the process I thought, “I want to do that!”
So we gathered supplies, namely a straw and bubble solution, then watched weather forecasts for the ideal temperature ( -12º to -30ºF – you can have some success as high as 9-12º).
Finally it got cold enough … 7ºF. Time to pull out our bubble solution. We placed it outdoors to cool down for 30 minutes. Then headed outside to give it a go.
At first we used a straw to blow the bubble and allowed them to drop onto the front step – FAIL
Next we attempted to use the straw to place a bubble on the step – FAIL
Then we allowed the bubble to start freezing on the straw, then carefully placed it on the concrete surface – SUCCESS!


 The topping is extraordinary. Its a combination of citric acid (found in the bulk foods aisle) and superfine sugar and it tastes both sweet and tart.
 There is a regional flyfishing show in Seattle every year that we’ve been interested in checking out.


 This year we’ve been doing a lot of meal prep … that is, building multiple meals at one time and packaging them for later.


