
When you head out on a road trip in July you expect some hot weather,
Well … at least you should.
Add to this, the southwest corner of Idaho is your first night’s camping destination and HOT moves to a new level.
 Bruneau Dunes State Park is on the edge of the Snake River plain. It is an area created fourteen thousand years ago when Lake Missoula’s ice dam breached and the Bonneville flood reshaped the landscape of Idaho, as well as eastern Washington and Oregon … the end of the ice age.
A reservoir completed in the early fifties to supply irrigation water raised the water table and caused small lakes to spontanously appear. Idaho Fish and Game stocked them, fisherman showed up, and by the seventies there were camping facilities opened.
The State Park’s campground was a logical stopover on the journey east. Montana is really too far for us to reach in a day. This put us at the campground around three in the afternoon and even with scattered trees and the awning in full shade mode it was hot (95 degrees).
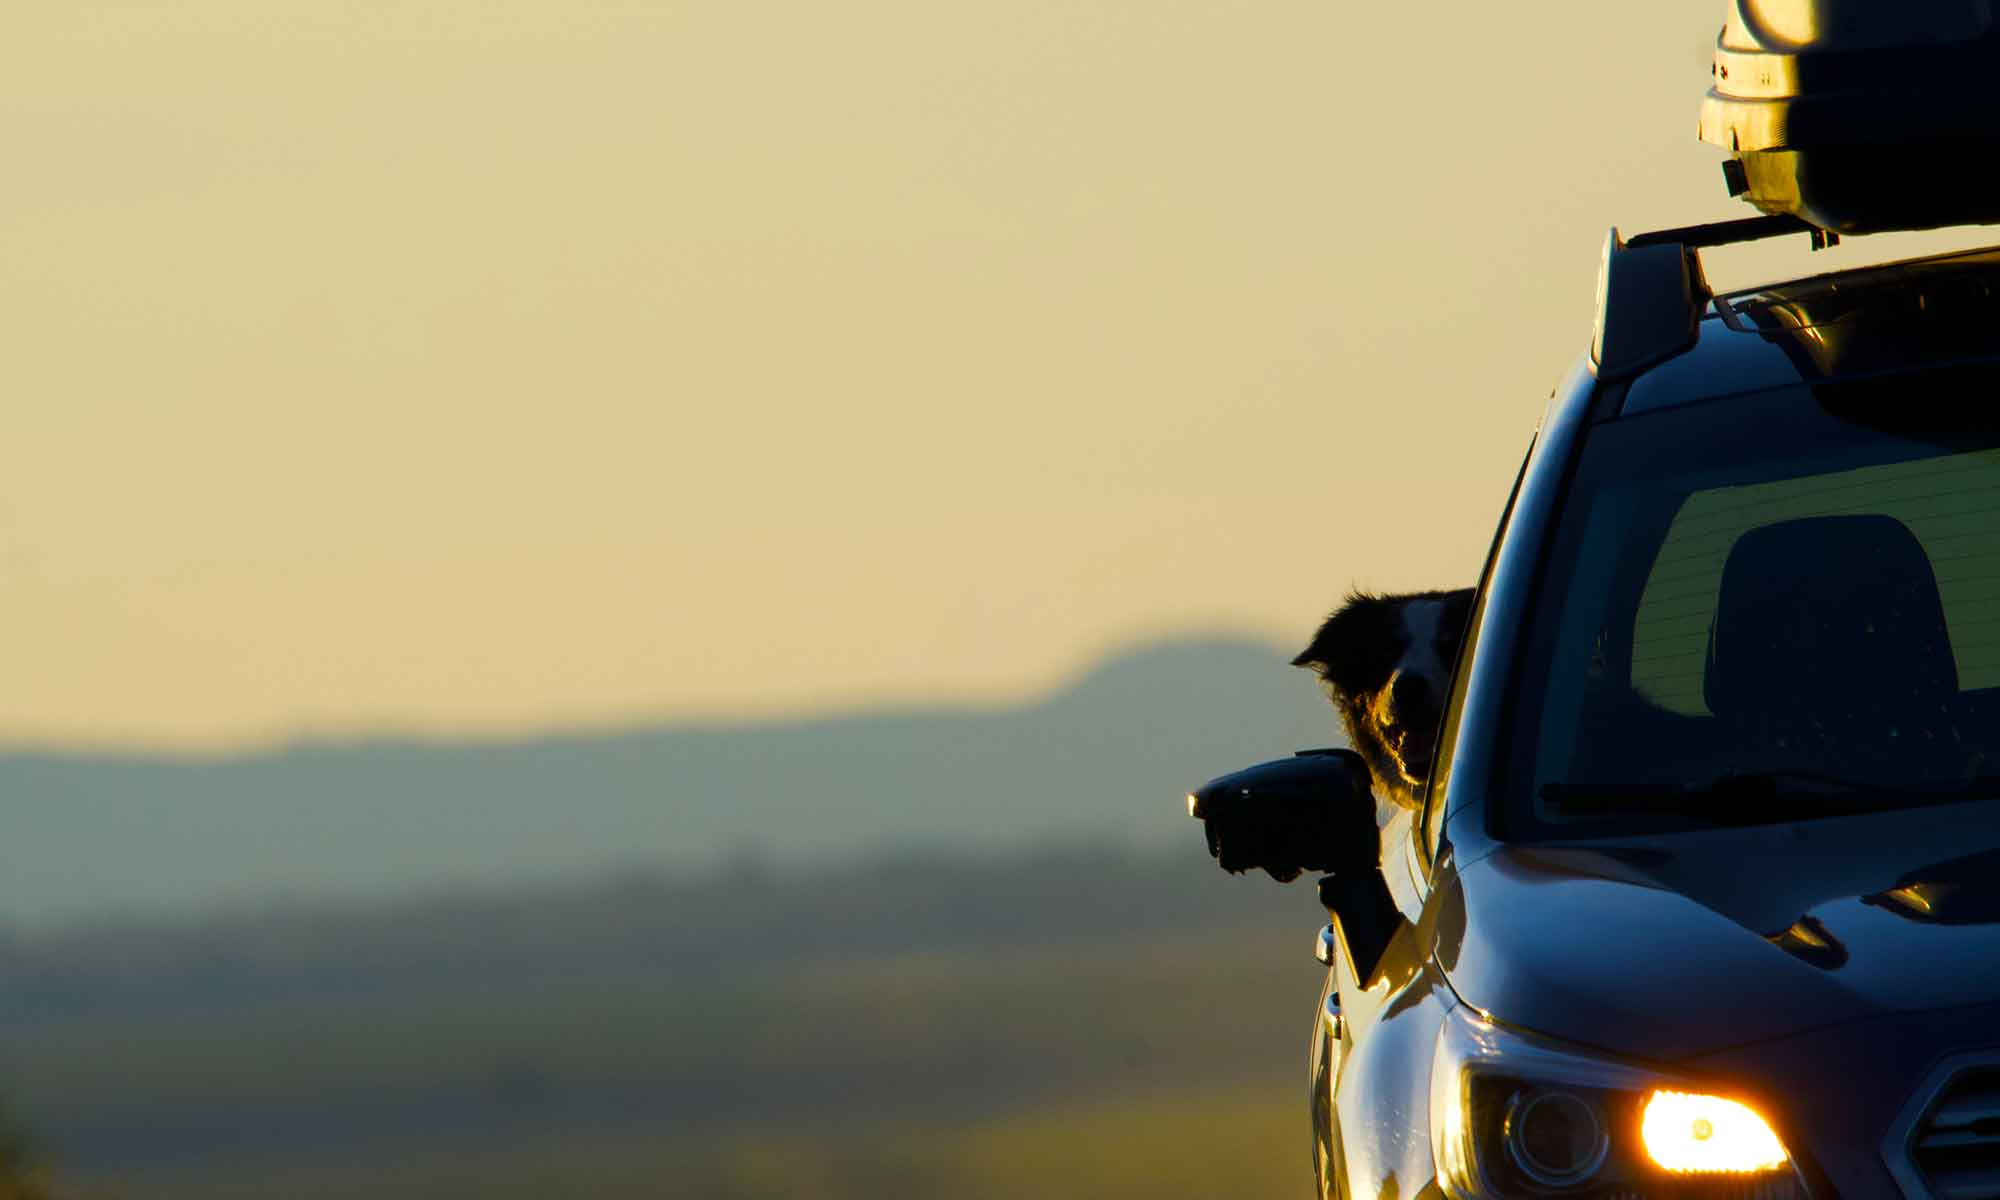
 We did get to use Tip’s new ‘swamp cooler’ jacket. I know it seems counterintuitive to put a jacket on an already hot pet, but when this is soaked with cold water evaporation brings a natural air conditioner to Tip’s back. It really worked!
We depleted the ice supply, took advantage of camp shower facilities, and were aided by an evening thunderstorm. By ten that night the desert camp was a comfortable 65 degrees.
Up with the sun, we started the second leg of the journey looking forward to tree lined sites along the Gallatin River … leaving the sweltering desert climes behind, for now.


 Now you have all those salad recipes, here is what we do with them … we go for a picnic. No, really.
 The clear plastic cups chill quickly, don’t break, but still allow you to see what’s inside. And when empty they are are very stackable. They aren’t dishwasher safe, but they do wash easily. We’ve gotten numerous re-use out of an initial purchase.


